Showing posts with label furniture. Show all posts

Wednesday, May 1, 2024

Em's Dresser #2


My sister gave me this bigger outdated dresser with the other dresser I painted. It had 6 drawers, so I decided to paint each one a different colour of the rainbow. This was my inspiration. I mixed each colour with my acrylic paints. As each drawer front isn't very big, it didn't use much (expect white, as I lightened the colours a lot) I was very happy with my colour mixing skills. I white washed it all over once dry to give it some texture and cohesion. I really wanted gold handles and looked at all different options but set on spray painting the wooden ones I had, which actually came out fine, I believe.


Monday, February 8, 2021

Em's Tub Chair

I bought an old worn out tub chair from an op shop years and years ago. I liked the classic shape and we had an empty spot in the house. It has been covered up all these years and been on the to-do list forever! I had a whole lot of stripey fabric sitting aside for the project taking up space in my sewing room, which was part of the motivation to do it. I wanted to patchwork stripey fabrics together and tried to use more durable fabrics than just cotton, so upholstery fabrics and other tough cottons. Most of the fabrics I used were from meaningful places. For example leftover upholstery fabric from the van all those years ago,  green upholstery fabric used as curtains in our first house together, an old bag, a few repurposed old projects and my old favourite pants..

I used the existing fabric as a pattern and had a go making the cushion first. It turned out great and I really wanted to finish it so put the sewing room aside to do it all. I started by removing the existing fabric, which was attached with a million staples! I got a blister from removing them with a screwdriver and pliers! Then, using the old fabric as a pattern, patchworked what pieces I had together trying to coordinate the colours and stripes as well as use what sizes I had. I had limited pieces for some fabrics but it worked well. I then had to staple it all back together. Luckily I took pictures of me taking it apart and followed that. It was actually easier and quicker than I thought to do. I am so happy with it and glad I've finally done it!

So many staples!
I reused the cardboard from inside
A nod to the old chair- usinhg the old fabric on the bottom
Bubby approves

Sunday, February 7, 2021

Em's Dresser


 I was given this old outdated dresser by my sister, and we needed one for Bubby's new room, so a revamp was needed. We still have this orange paint from when I painted the van so I used it for the handles and used other paint we already have for the rest, mixing some grey and white paint to get the right shade of grey. Simple and easy to update and freshen. My sister might want it back now!

Edit: I added some wooden planes and boats to the draws to create more interest. (we also got new carpet!)


Sunday, October 25, 2020

Em's Whitewashed Chairs

We had four of these wooden folding chairs given to us. I liked them as they were, however, we wanted to put them on the front wooden deck, which was too much wood that clashed. So, I decided to paint them. I wanted to keep the wood feel to them so white-washed them with white paint mixed with water. I used a paint brush and rag to wipe off excess paint. This was a very messy job. The white on it's own was way too bright. I then did the same technique with grey paint and water. They have a rustic look  that now contrasts with the deck. I do wonder what an even darker wash would've been like but think it has done the job.

Sunday, April 7, 2019

Em's Coffee Bag Mat/rug


I bought some coffee bags from the local coffee roasters, where I get my coffee, for 2 bucks each. I've seen some pretty cool stuff made with them. But I thought I'd try a mat for our kitchen. I have a mat but it is a little ugly and dated. I really wanted it to be double sided so I can flip it over when needed.

I roughly followed the tutorial from here. I used the original 'blanket-looking' stitching on the edge and then cut the bag to size and used some left over thick stitching thread to stitch the other side with a similar looking stitch, sewing the ends closed with big zigzag stitch on the sewing machine in red and orange/brown threads. Then frayed the short ends up to the stitch (could've also tied the frayed edges into knots instead of stitching). It was a very quick and easy project, although messy! It is a little slippery, although with more use may become less..? I looked at transparent non-slip sprays and paints but I couldn't find anything easily or cheaply. So without putting a backing on it and making it one sided I've left it as it is. I love the look of it and still have a few coffee bags left to make something with!

Other coffee bag ideas:

So many ideas! Heaps of different bag styles, place mats, cushions, beanbags, aprons, pencils cases even curtains!
Tote- (I actually bought one from the coffee shop who gets a local to make and sells them
(more of a reusable shopping bag style)
The lining makes it good
(can also have contrasting fabric on the outside)
Bag with contrasting fabric

Bag- would be super easy!

Cushions- another easy craft!

Friday, June 29, 2018

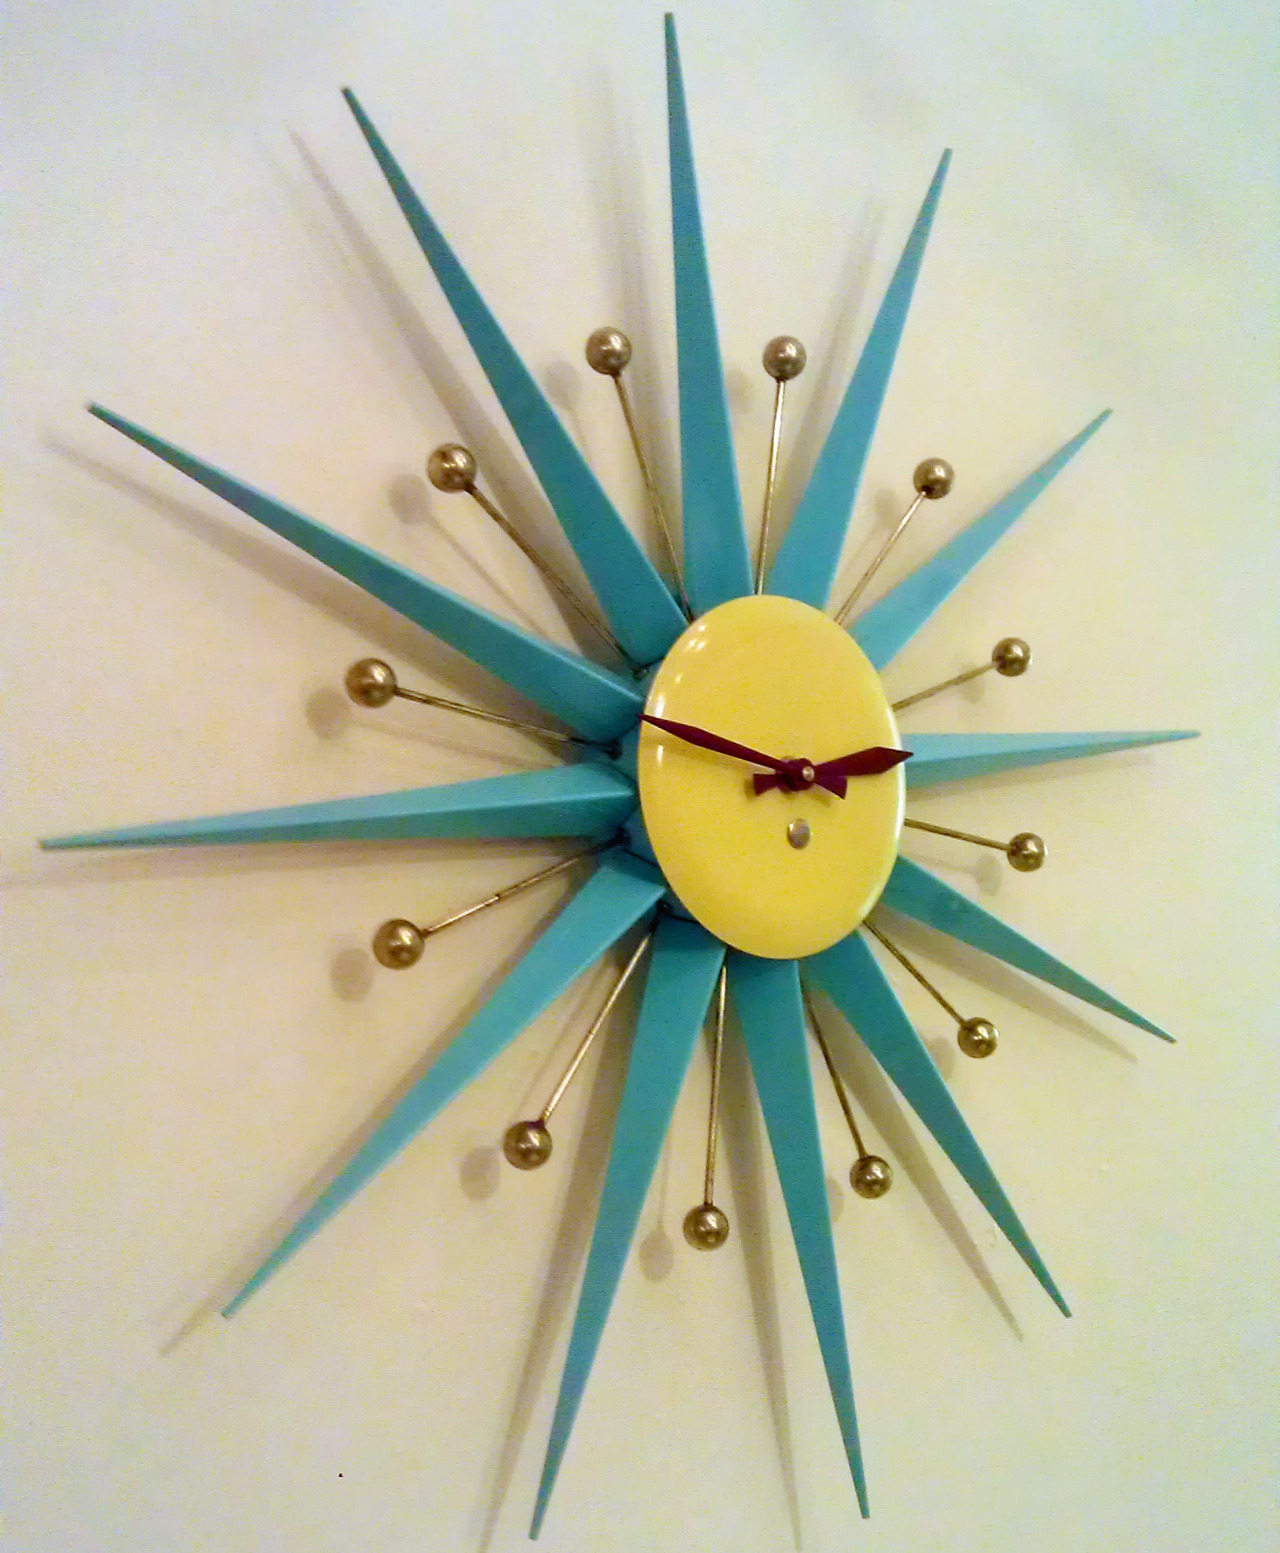
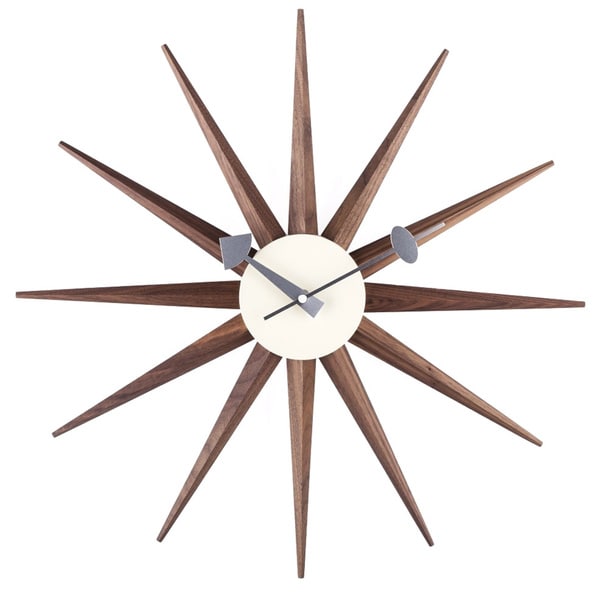
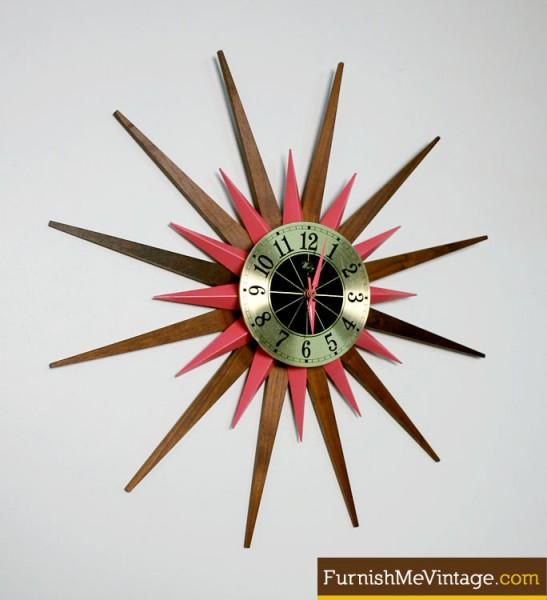
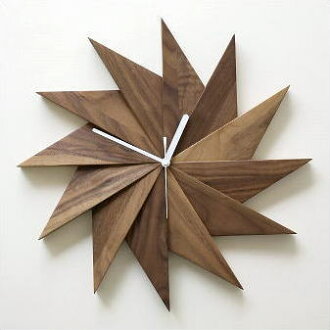
1960's clock

Inspiration for a 1960's starburst style clock..
Love this one!!! but add dots for numbers.. via

via


via

via

But not pink!  via
Could be cool as different wooden pieces Via

via

Bonus clocks:

Couldn't resist.. via
Love the colours! Mixed with white..
 
 
SaveSave

Saturday, February 24, 2018

Em's Bedside Tables

 
We bought a second hand bed for our spare room, along with bedside tables and a tallboy. However, the furniture was ugly pine coloured so in need of some funking up. A great excuse to try some distressed techniques. I sanded back the bedside tables, which didn't take as long as I thought using an electric sander! Then I dry painted the fronts of the drawers blue, mixing my own colour with acrylics. Next I whitewashed the rest of the bedside table by mixing the white waterbased paint with some water. Afterwards I dry brushed over the whole bedside table including the blue drawer fronts.

I wanted some funky ceramic knobs and saw this tutorial to decoupage wooden ones with their free downloadable designs. They turned out fantastically! I love the designs and after spraying with a high gloss finish could almost pass as ceramic anyway but way cheaper! Since they are in the spare room they won't get a lot of use anyway so wearing out isn't an issue but I think the gloss would protect it well.


SaveSave
SaveSave

Tuesday, November 7, 2017

Em's Mosaic Lounge


My Mother-in-law has always wanted to build a lounge form hebel (aerated concrete) and mosaic it. So when she got a whole heap of hebel blocks as seconds and my husband designed the way to build it, her dream came true! We helped, laying the blocks down like brick layers (I thought it was fun) to create the box shape, and using all the blocks we had! Then came the fun part of shaping it. Using files, chisels, angle grinder, and sand paper it came to shape, and actually looks comfortable and cute. The next step was mosaicking! We left that to her to conquer, taking a few years to get to the finished result using different coloured and sized stripes.


Building it up brick layer style


Angle grinding is duty work
Almost there 

The finished shape before mosaicking

Sunday, June 12, 2011

Em's Bedside Table

For Design and Technology at school I created a bedside table. I wanted to make a non-symetrical shaped bedside table incorporating curves or spheres that was still functional. They sloped top allows for easy access. Laminated plywood made into a ball using the lathe (blunted the tools every few minutes because of all the glue in it), Tasmanian Silver Oak and Tiger Myrtle for the draw. Angled feathered joints in contrasting wood for strength and character. I love the mix of woods.

SaveSave