Wednesday, July 15, 2020

Em's recycled Baby Toys

DIY rattles with plastic containers

Now I'm a Mother, a lot of my craft ideas are baby related! I'm not going to spend big on toys and have been using plenty of recycled materials and containers for Bubby to play with, which he loves! Household items are also a hit! At the moment he loves to shake and bang anything and the louder the better! So I made some rattles with varies objects inside. Also trying to find different shaped clear plastic bottles was good.

Bubblewrap didn't entertain for long- bigger bubbles might be better

Kitchen utensils discovery basket. This is good to bring out when he's getting bored with other toys as a toy rotation.

This pomegranate juice bottle is such a great shape! Filled with pasta it is a good LOUD rattle. The shape of the bottle lets it spin interestingly too!  
This was a simple toy that he actually loves. A tissue box filled with silky scarves he can pull out one by one. We then also play peek-a-boo. I think he likes the sensory feel of the scarves too.

This is probably my favourite. A small milk bottle that is hexagonal so it doesn't roll away and is easily for him to hold. I filled it with shiny jewels but it wasn't washed enough beforehand so started to smell. I then put water and detergent in to wash it all and it looked fun so left it! The more it is shaken the more sudsy it is :)

I also love this one! A plastic water bottle with ribbons threaded through a hole in the lid with beads tied on the end inside, then all tied together under the lid so they can't be pulled through and the beads therefore stay dangly to create a rattle. I also added a few more loose beads. This is another loud one. via

A drinking choc container I poked holes in and threaded pieces of ribbon through two sides to create a pull toy. I could've made the ribbon longer. He doesn't quite get the pulling yet but loves shaking it around, so I added a piece of Duplo to also make it rattle.

Rain stick! I used a hard cardboard tube, nails and rice. I nailed the nails through the tube at different angles and cut any sharp bits off. After a test run I added more nails as the 'rain' didn't't last long. This make sit quite heavy but sounds great! I then wrapped the whole thing in duct tape. It would be cool to use different coloured tape or stickers to make it more exciting. via

Another toy he's still a bit young for, a posting box. Formula tin with cut up cardboard shapes. I coloured in each shape with Texta but he just mouths it and gets the ink all over him so we don't play with this one much yet. They make a good rattle until he can use it as intended.

The coloured-in square.

Sunday, April 7, 2019

Em's Coffee Bag Mat/rug


I bought some coffee bags from the local coffee roasters, where I get my coffee, for 2 bucks each. I've seen some pretty cool stuff made with them. But I thought I'd try a mat for our kitchen. I have a mat but it is a little ugly and dated. I really wanted it to be double sided so I can flip it over when needed.

I roughly followed the tutorial from here. I used the original 'blanket-looking' stitching on the edge and then cut the bag to size and used some left over thick stitching thread to stitch the other side with a similar looking stitch, sewing the ends closed with big zigzag stitch on the sewing machine in red and orange/brown threads. Then frayed the short ends up to the stitch (could've also tied the frayed edges into knots instead of stitching). It was a very quick and easy project, although messy! It is a little slippery, although with more use may become less..? I looked at transparent non-slip sprays and paints but I couldn't find anything easily or cheaply. So without putting a backing on it and making it one sided I've left it as it is. I love the look of it and still have a few coffee bags left to make something with!

Other coffee bag ideas:

So many ideas! Heaps of different bag styles, place mats, cushions, beanbags, aprons, pencils cases even curtains!
Tote- (I actually bought one from the coffee shop who gets a local to make and sells them
(more of a reusable shopping bag style)
The lining makes it good
(can also have contrasting fabric on the outside)
Bag with contrasting fabric

Bag- would be super easy!

Cushions- another easy craft!

Friday, January 4, 2019

Em's Lego Camo Cake


I was told my nephew likes "anything camouflage", so I decided for my two nephews birthdays to make a marble cake with vanilla, chocolate and green to create a camo cake! They both also like Lego so I made it in the shape of a Lego brick, which was instantly recognised and got squeals of excitement form them both. It came out awesomely. I couldn't wait for him to cut into it! The Lego shape was created using Oreos and then iced over. (could have also used marshmallows?) So simple and effective!


The bottom of the cake before icing

Tuesday, December 25, 2018

Em's 2018 Christmas Presents

Reindeer Noses
I made these reindeer noses as effective Christmas gifts. I think it is a really clever way to give the sometimes boring gift of chocolate in a new way, as everyone likes chocolate right? A packet of Malteasers and a packet of Jaffers made two big jars perfectly (Damn! I was hoping for some left overs!). I also like the added touch of a reindeer Foo on the label! 😁


Eggs
Our chooks supplied the three dozen eggs we needed for our family Christmas lunch, so I edited the usual label I use when giving people eggs and put little Santa hats on the chickens!

Friday, December 14, 2018

Em's Beetroot Relish

I made a batch of my favourite beetroot relish for everyone for Christmas. We have a constant supply in our fridge and cupboard to put on eggs or fritters etc. I also made the labels.


700g beetroot
1 red onion, finely chopped 
1 cup Jam Sugar
1½ cups white vinegar
3Tbs balsamic vinegar
pinch of salt
½ tsp ground black pepper

Clean the beetroot and cut off all of the stalk/leaves. Place into a pot of boiling water and boil for 20mins (until soft and the beets can be pierced with a sharp knife). Remove from the water and cool. Wearing gloves remove the skin from each beet by gently rubbing. Grate the beetroot into a bowl (it should be very soft and easy to grate). Add the beetroot and all of the ingredients into a wide-based pot and stir over low heat until the sugar dissolves. Let mixture simmer for approximately 30mins until the liquid has evaporated and it has a jam-like consistency (test by spreading jam on a plate from the freezer- If it wrinkles and feels gel-like, it’s ready). Put into sterilised jars.

Notes: Store the relish in a cool dry location. 
Once opened it should be stored in the fridge. 
Use within 3 - 4 months. 
Enjoy on salad sandwiches, with cold meats, cheese and eggs

To sterilise jars
Preheat oven to 120C. Clean jars well with hot soapy water and rinse well. Let drain then place upright on oven tray. Place in oven and heat for 20mins. Fill while hot with hot jam. Boil lids in saucepan for 10mins then let drain.

Monday, August 27, 2018

Em's Knitted Blanket #2


I finished another knitted blanket using scrap wool. I loved my first attempt a knitted blanket and still had lots of beautiful wool to use so decided to make this one for my Mum's 60th. I used the same technique. A circular knitting needle, mix of weights and fibres, leaving the ends for the tassel. I knitted with 2 yarns each row and left out any yarns that were too furry this time. I also kept a darker, denser colour palette using the aqua and purple yarns as a base. I love those yarns and have lots of them. I've already looked at a new colour combination to start a new one!!


Saturday, June 30, 2018

Em's Macrame

I still would love to try a big macrame wallhanging!! Getting some rope seems to be the hardest. It's not cheap and there's so much variety! I had some string so I decided to try this tutorial and create a macrame necklace. I think it is really cute!


Then I decided to try a mini macrame owl. I had some wooden beads that were perfect for this tutorial luckily. I finally got the hang of some of the knots too! 


I like the beads and feathers in the tail of this one, which uses the same pattern.
SaveSave

Friday, June 29, 2018

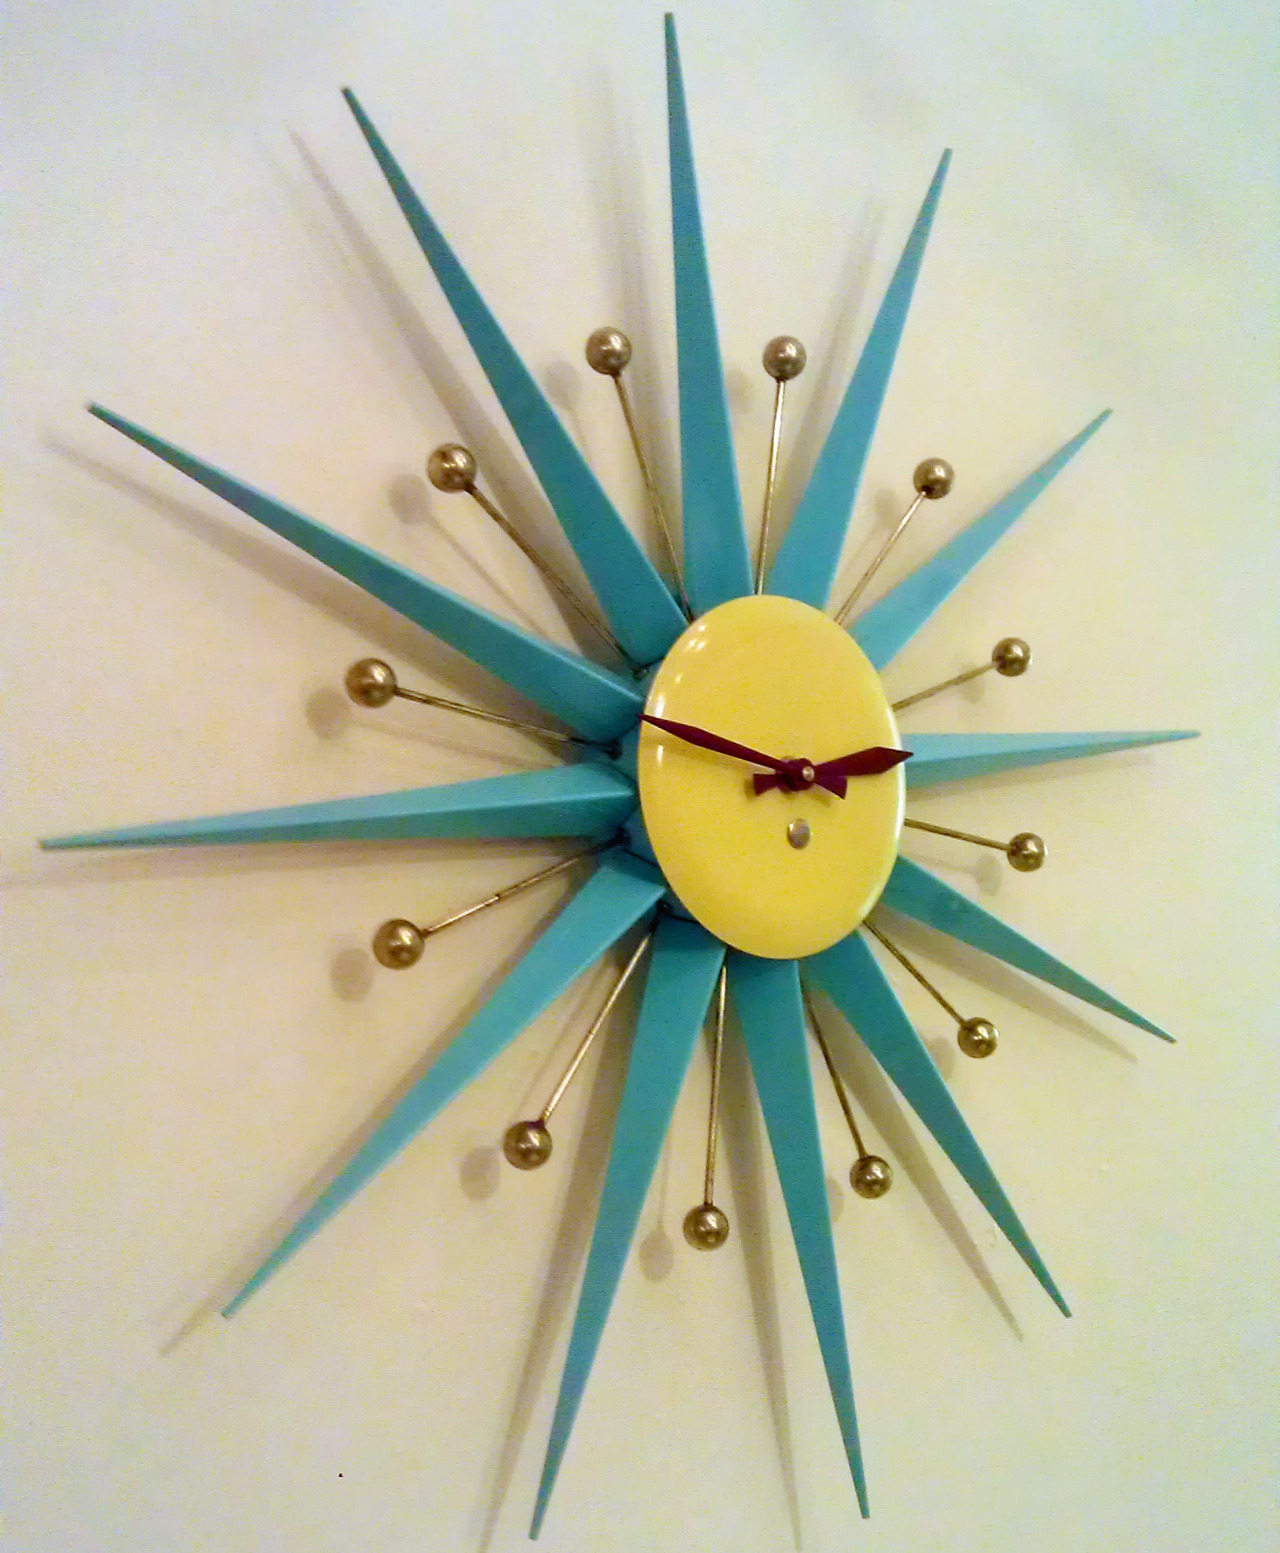
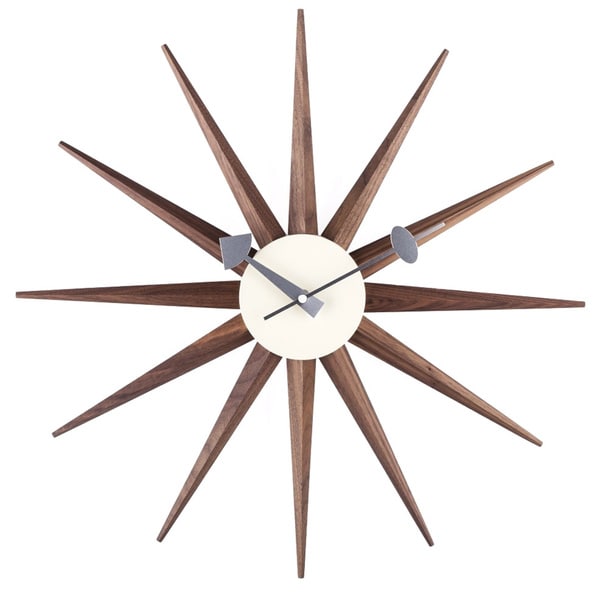
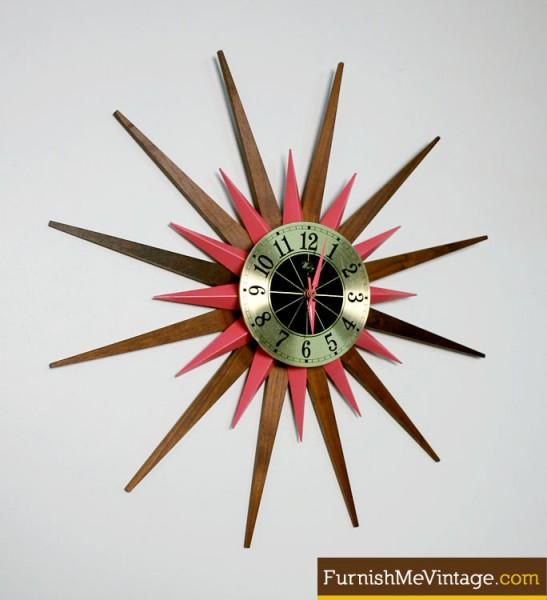
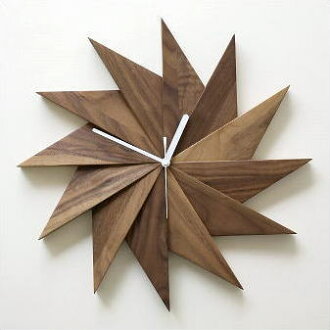
1960's clock

Inspiration for a 1960's starburst style clock..
Love this one!!! but add dots for numbers.. via

via


via

via

But not pink!  via
Could be cool as different wooden pieces Via

via

Bonus clocks:

Couldn't resist.. via
Love the colours! Mixed with white..
 
 
SaveSave